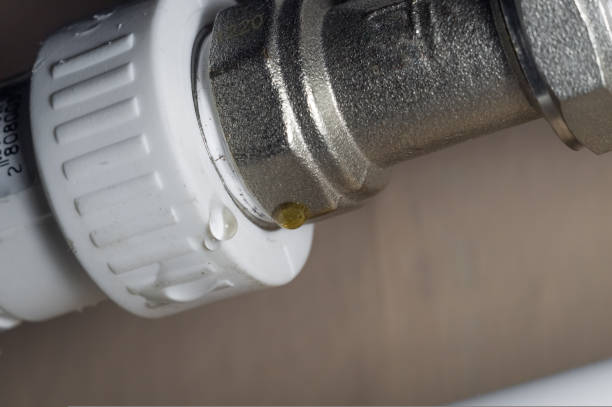
Are you dealing with stubborn plumber’s glue on your metal surfaces? Don’t worry. We’ve got you covered! Whether it’s accidental spills or residue left behind from a plumbing project, we’ll help you restore the shine and cleanliness of your metal objects in no time.
Firstly, it’s important to identify the type of metal and glue you are working with. Different metals may react differently to certain solvents or cleaning methods, so knowing what you’re dealing with is crucial. Once you have determined the type of metal and glue, you can proceed confidently, knowing that you are using the most suitable method for your situation.
Now, let’s dive into the step-by-step guide that will help you effectively remove plumber’s glue from your metal surfaces. With our easy-to-follow instructions, you’ll be able to easily tackle this task and restore the pristine condition of your metal objects. Say goodbye to unsightly glue stains and hello to gleaming metal surfaces once again!
Assessing the Type of Metal and Glue
Before attempting to remove the plumber’s glue from the metal, it’s important to determine the type of metal and glue used. This will help you envision a precise and effective solution. One of the common mistakes to avoid when removing plumber’s glue from metal is using abrasive materials or tools.
These can scratch or damage the metal surface, making the problem worse. Instead, opt for non-abrasive methods such as using heat or solvents explicitly to remove glue. Additionally, be cautious when using heat near flammable materials or on delicate metals that may be affected by high temperatures.
Another alternative method for removing plumber’s glue from metal surfaces is using a chemical adhesive remover. These products are specifically formulated to dissolve glue without damaging the metal. Before using any chemical, it’s important to read and follow the instructions carefully.
Apply the adhesive remover to a cloth and gently rub it on the glue, allowing it to penetrate and loosen the adhesive. You may need to repeat this process several times until the glue is completely removed. Remember to always test the adhesive remover on a small, inconspicuous area of the metal first to ensure it does not cause any damage.
Step-by-Step Guide to Removing Plumber’s Glue from Metal
Follow this simple step-by-step guide to remove that stubborn adhesive on your metal surface safely. First, gather the necessary materials: a plastic scraper, acetone or nail polish remover, a soft cloth, and warm soapy water. Start by using the plastic scraper to gently scrape off as much of the plumber’s glue as possible without scratching the metal. Be careful not to apply too much pressure, which can damage the surface.
Next, dampen the soft cloth with acetone or nail polish remover. Gently dab the cloth onto the remaining glue, allowing the solvent to loosen the adhesive. Let it sit for a few minutes to ensure maximum effectiveness. Then, use the plastic scraper to scrape off the softened glue carefully. If there are still traces of glue left, repeat this process until the metal surface is clean.
After removing the plumber’s glue, cleaning the metal surface thoroughly is important. Dip a clean cloth into warm, soapy water and gently scrub the area to remove any residue. Rinse the surface with clean water and dry it with a soft cloth. This will ensure that no traces of adhesive or solvent are left behind.
When attempting to remove plumber’s glue from metal, there are a few common mistakes to avoid:
- Do not use sharp objects like knives or razors to scrape off the glue, as they can scratch the metal surface.
- Avoid using harsh chemical cleaners that may damage the metal. Stick to gentle solvents like acetone or nail polish remover.
- Be patient and take your time when removing the glue.
Rushing the process can lead to unnecessary damage to the metal. By following these effective home remedies and avoiding common mistakes, you can successfully remove plumber’s glue from your metal surfaces.

