
Are you about to tackle a plumbing project and need to know which way to wind plumber’s tape? When it comes to winding plumber’s tape, it’s essential to understand that the direction matters. By following the proper technique, you can prevent leaks and ensure a secure connection for your pipes.
To begin, let’s talk about the direction in which you should wind the plumber’s tape. It is crucial to remember that you should always wind the tape in a clockwise direction. This means that as you wrap the tape around the threaded part of the pipe, you should be turning it to the right. Doing so creates a tight seal that prevents any water from leaking. So, next time you’re working on a plumbing project, remember to wind the plumber’s tape in a clockwise direction for a secure and leak-free connection.
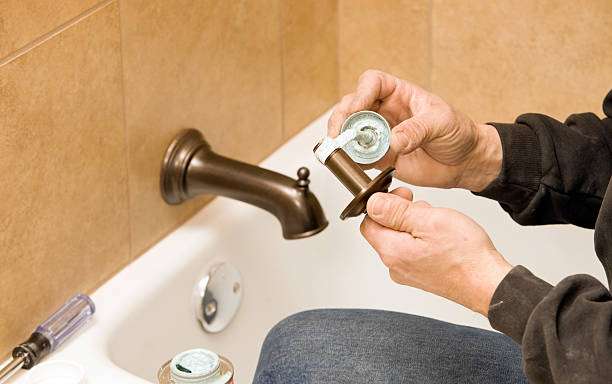
Winding Plumber’s Tape in the Correct Direction
Now, let me show you the easiest way to wind plumber’s tape in the correct direction so you don’t have to worry about any leaks – just remember to keep that tape moving clockwise!
One of the most common mistakes people make when winding a plumber’s tape is not paying attention to the direction. It’s crucial always to wind the tape clockwise to ensure a proper seal. This may seem like a small detail, but it can make a big difference in preventing leaks.
Another important aspect to consider when winding a plumber’s tape is the tension you apply. It’s essential to use the right amount of tension to achieve a tight seal without causing any damage. Too little tension can result in loose fittings and potential leaks, while too much tension can lead to stripped threads or broken pipes. The key is to find the balance by applying enough pressure to create a secure seal but not so much that you risk damaging the components.
Remembering these tips, you can avoid common mistakes and achieve a reliable seal whenever you wind a plumber’s tape. Remember always to move the tape in a clockwise direction and use the right amount of tension. With some practice, you’ll become a pro at winding plumber’s tape and can confidently tackle any plumbing project without worrying about leaks.
Stretching and Overlapping for a Watertight Seal
To create a watertight seal, you should stretch and overlap the tape in a manner that adds sophistication to your plumbing job. Start by stretching the plumber’s tape slightly as you wrap it around the threaded part of the pipe. This will ensure that the tape adheres tightly to the surface and prevents any leaks.
As you continue wrapping, make sure to overlap each layer of tape by at least half of its width. This overlapping technique helps to create a solid barrier against water and other fluids, enhancing the effectiveness of the seal. By stretching and overlapping the tape, you can confidently tackle any plumbing project, knowing your connections are secure and leak-free.
Expanding plumber’s tape applications can also help troubleshoot any issues you may encounter during the application process. If the tape is not adhering properly or leaks after wrapping, try applying an additional layer. Ensure that you stretch and overlap it in the same manner as before.
This extra layer can provide extra protection and improve the seal. Additionally, if you work with larger pipes or fittings, you may need to use a wider plumber’s tape or multiple layers to cover the entire threaded area. Remember, the key is to create a tight and overlapping seal to prevent any moisture from escaping. So, don’t hesitate to experiment with different techniques and adjust the tape application accordingly for the best results.